Developer Options: The Do's and Dont's
When we get a little deep into android in order to squeeze that little bit of extra performance, developer options is the only thing that comes to our mind. These are the settings provided by OEM's not meant for a normal user and hence the tag "developer" (not really :). This consists of many settings that if toggled without knowledge can be very serious for your device while some that can almost double the performance.
 |
| credits: digital trends |
How to turn on developer options?
1 Go to "Settings", then tap "About device" or "About phone".
2 Scroll down, then tap "Build number" seven times.
3 Enter your pattern, PIN or password to enable the Developer options menu.
4 The "Developer options" menu will now appear in your Settings menu.
Here are some options that can help you make your phone faster:
1) Graphics driver preferences: As the name suggests this allows you to assign graphic drivers on per app basis, opting system graphics driver for games can make your games a bit more fluent using the GPU integrated on the soc (chipset), can be very helpful on graphic intensive games.
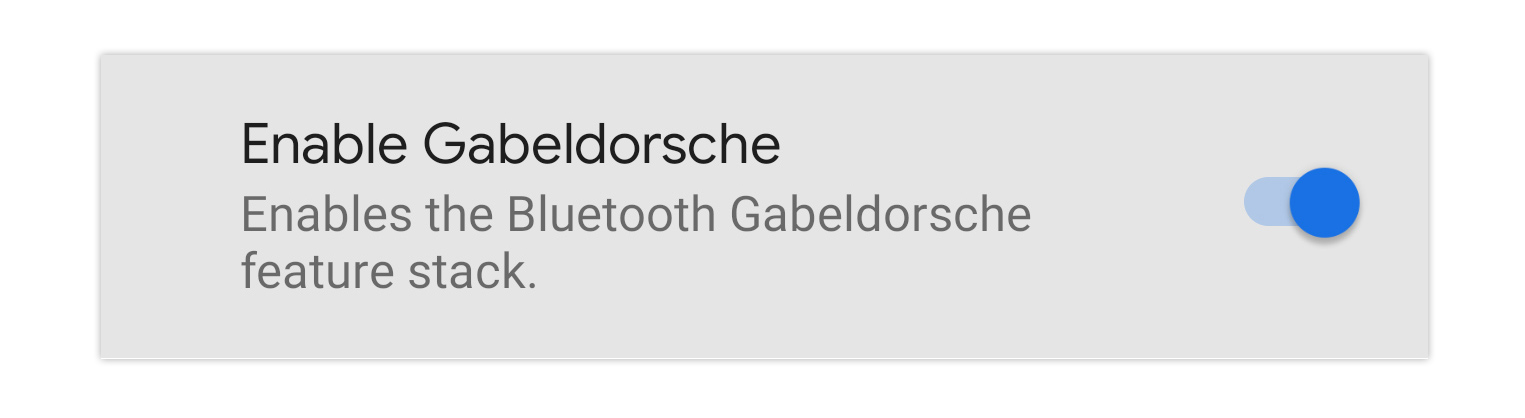
2) Gabeldorsche: Available from android 11 and above, this feature or stack (fancy word) when enabled makes the Bluetooth connectivity more stable and efficient, as we know Bluetooth isn't stable with some devices having better connectivity than others, gabeldorsche solves this filter by acting sorta like a filter and improving Bluetooth connectivity.
 |
| credits: arstechnica |
3) Animation scales: This helps you control the animation time i.e. the time taken for an animation to start and end. It is applicable for windows, transitions and animator duration (including splash screen for apps). You can see significant changes if you set all of them to 0.5x basically halving the animation time.
Note: You can set it to 0x for those who wanna live over the edge ;) and want everything static.
4) Force 4x MSAA: Enables multisample anti-aliasing (MSAA) in Open GL ES 2.0 apps. Disable HW overlays: Using the hardware overlay enables each app that displays something on the screen to use less processing power.
 |
| credits: geekyprofessor |
Coming over to the some rather "DANGEROUS" developer options (not really :)
So it is advised that you use this only when you need to and let it on default otherwise.
2) USB Debugging: Though handy for developers but for beginners, its better to let this option be turned off until unless necessary. Same goes for wireless debugging.
3) Override force-dark: Though not dangerous in any way, but may make some apps display weird graphics/colors and *might break functioning in some apps.
Hope this article helped you, even if a little bit ; )
Atharva Out!

Comments
Post a Comment